
Point of sale
Point of sale is a fast checkout screen for shop sales: scan or pick items, take payment in one or more modes, and print or WhatsApp the bill. Open it from Sales › Point of sale.
Before the first sale: the till setup
Section titled “Before the first sale: the till setup”Each register runs on a POS profile, the till setup, made once by your accountant:
| Setting | What it decides |
|---|---|
| Warehouse | Where the stock sold at this till comes from |
| Price list | The prices the till charges |
| Payment modes | Cash, UPI, card and any others you accept |
| Item groups | Which items show as tiles at this till |
| Print layout | The bill: “Shop receipt, 80 mm printer” or “Shop receipt, 58 mm printer” |
| Default customer | The walk-in customer used when you pick none |
For UPI, save your business UPI ID on the company: the till then shows a QR with the exact amount for the customer to scan.
Open the register
Section titled “Open the register”- Open Sales › Point of sale.
- Pick the POS Profile (the till setup) and the Company.
- Type the cash in the drawer for each payment mode (leave 0 if the drawer starts empty).
- Press Open register. This starts your shift. If your register is already open today, the page goes straight to selling.
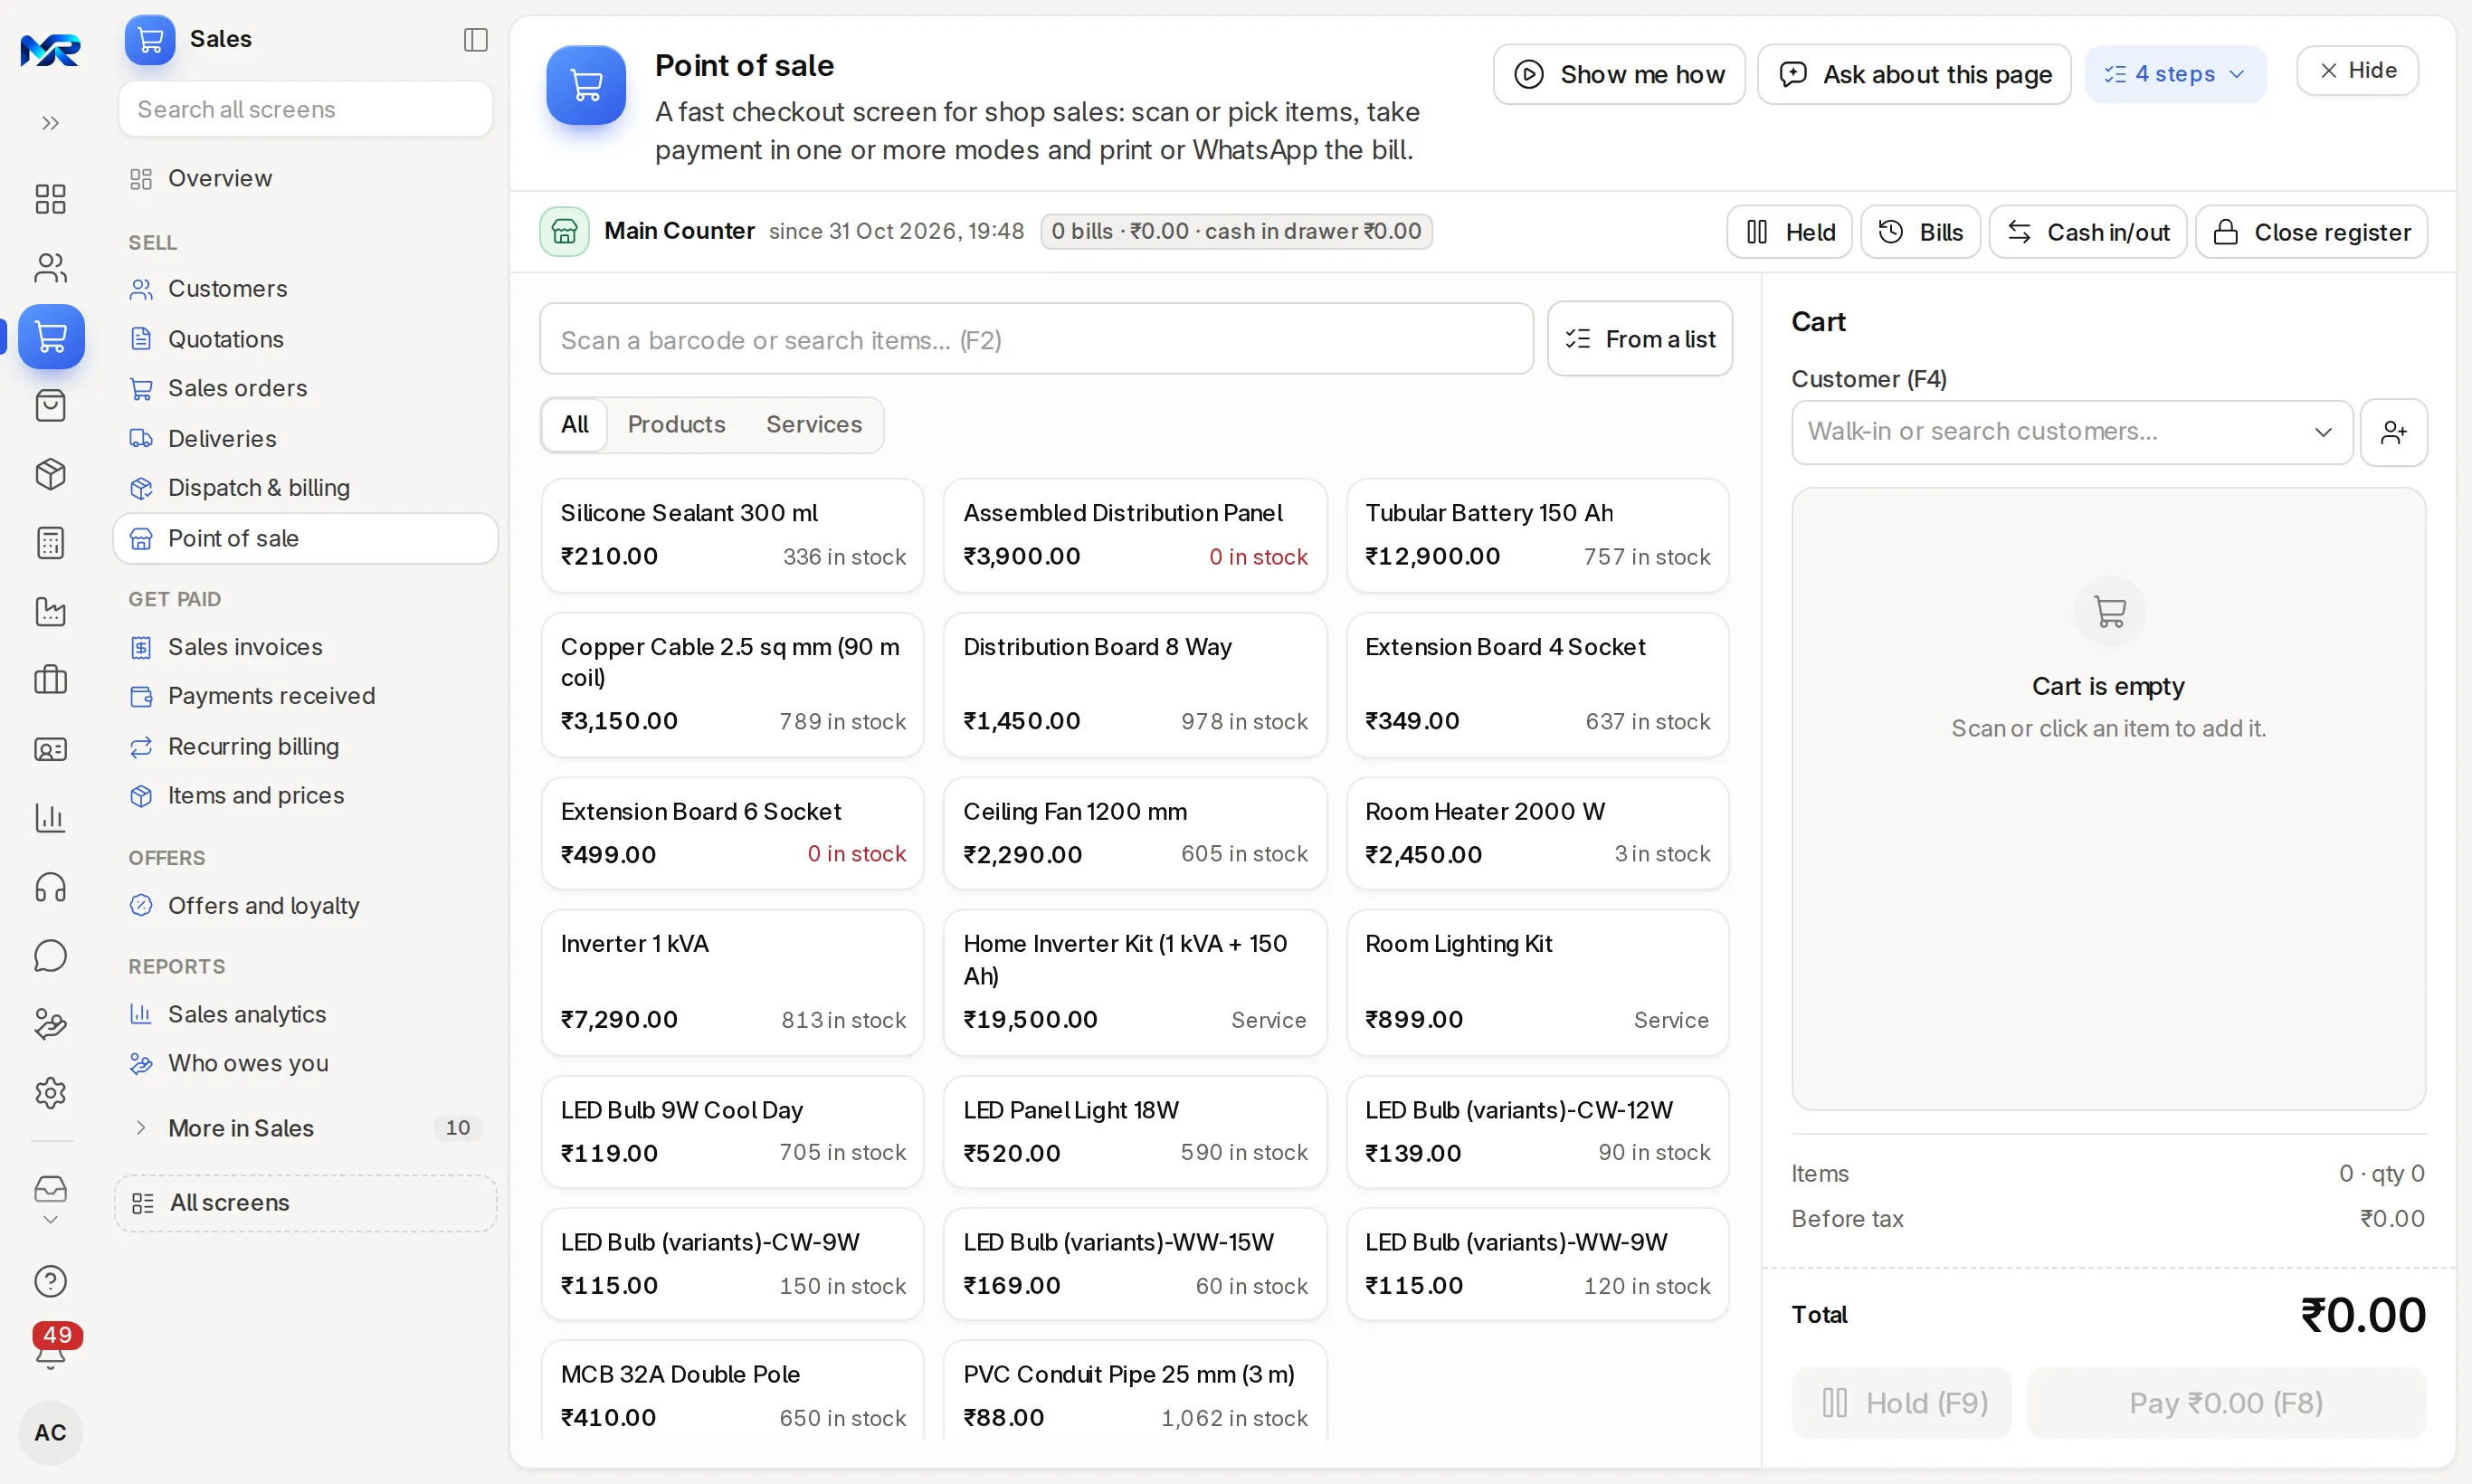
- Scan a barcode, or type in Scan a barcode or search items… (F2). The item group chips narrow the tiles. Click a tile to add one unit; an item with sizes or batches asks which one.
- Change a quantity with + and − or type it; remove a line with ×.
- Pick the customer in Customer (F4). A walk-in sale needs none. To add a new customer with a mobile number for the WhatsApp bill (and a GSTIN for a business), press the person icon beside the box. A customer with loyalty points can use them on the bill.
- Prices and taxes come from the till’s price list and each item’s tax template. GST follows the place of supply, as on every sales document: CGST + SGST in your own state, IGST otherwise.
From a list fills the bill from the customer’s own list: type it, say it, or take a photo of a written list (the photo needs the AI Assistant). Nothing goes on the bill until you tick it.
Hold (F9) parks a bill while the customer fetches something; Held brings it back. Bills (F10) lists today’s bills. Cash in/out records money put in or taken out of the drawer, such as a float top-up or a courier payment.
Take payment
Section titled “Take payment”- Press Pay … (F8).
- In Take payment, type the amount for each mode: cash, UPI, card. One bill can be split across modes. Rest here puts what is left on that mode, and the window shows the Change to give.
- For UPI, the customer scans the QR shown for the UPI amount. With a connected Razorpay account, the till shows Razorpay’s QR and confirms the payment on screen by itself; with your own UPI ID, check your bank app before you complete the sale.
- Press Complete sale. The bill is priced and saved.
- Press Print receipt (80 mm or 58 mm thermal printer) or WhatsApp bill, which opens WhatsApp with a link to the bill for the customer’s mobile number. Then New sale.
When the internet drops
Section titled “When the internet drops”The till keeps selling while the page stays open. It shows Offline — sales are being queued and sends the queued sales when the connection returns. Point of sale is one of the few pages that work offline, with the shop floor, attendance check-in, Record a visit, the Asset desk’s physical check and bill photos for Read a bill.
Close the register
Section titled “Close the register”- At the end of the shift, press Close register.
- The window lists each payment mode with what was expected. Count the drawer (by notes and coins if you like) and type the Counted amount for each; a blank count is taken as expected.
- Press Close register. The shift’s bills are posted to the books, and any difference between expected and counted is reported. Bills still on hold are not part of the closing.
How to check it worked
Section titled “How to check it worked”- Bills lists every sale of the shift with its payment mode.
- After closing, the shift’s sales appear in Sales › Sales invoices and in Who owes you for any credit sale, and the cash and bank balances on the Accounting home include them.
Who sees this
Section titled “Who sees this”Opening a register needs a till setup the person may read. The Accounts roles and the Sales Manager have this by default; a cashier is given access by your administrator. People who cannot read a till setup do not see Point of sale in the Sales menu.
Still stuck?
Ask the team that set it up.
In MyRecords, Show me how walks you through any page. For your plan or a change, write to us.
- Updates and fixes included
- Changes whenever you want